Full Series links can be found here.
In the previous post I wrote about how to get and build the ASP.NET Core Webhooks repository. In this post I’m going to investigate how to test one of the webhooks locally. For this I am going to start with investigating the AzureAlertWebHook. Why choose this one? It is relatively straight forward and should require minimal setup.
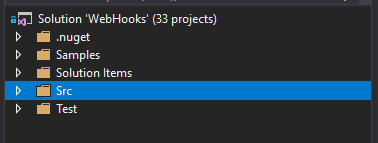
After getting the latest code and making sure it builds (see previous post) it is time to run it in Visual Studio to allow for debugging. There are 3 main parts to the solution:

- Src - This is where all the projects for the nuget packages are kept
- Test - This is where the test projects are for each individual webhook
- Samples - This is where there are sample ASP.NET Core web applications for each of the webhooks
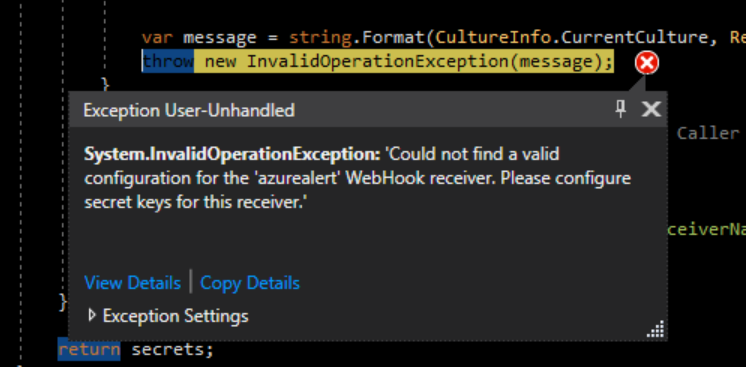
Open up the Samples folder and set the AzureAlertCoreReceiver project as the start up project. On first run I got an error:

This means that we’ve have not setup out security secrets correctly for this webhook to function.
How to setup the secrets
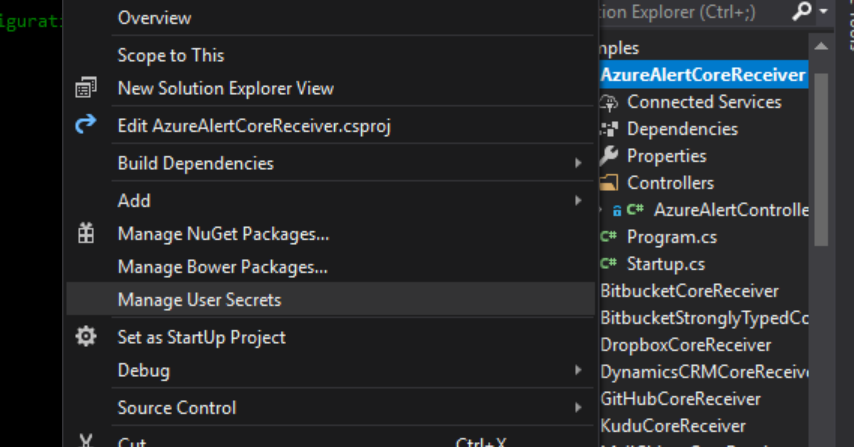
To setup your secrets you need to right click on the web projects and select “Manager User Secrets”. You should never add secrets for application configuration files which are commited to source control.

The secrets file will need to include the following:
{
  "WebHooks": {
    "azurealert": {
      "SecretKey": {
        "adamalert": "83699ec7c1d794c0c780e49a5c72972590571fd8"
      }
    }
  }
}
The value of the adamalert property is the known secret which you will use to setup your webhook in Azure. It will be passed in through the url.
https://<host>/api/webhooks/incoming/azurealert/adamalert?code=83699ec7c1d794c0c780e49a5c72972590571fd8
Once the user secrets are set then run the web application again in debug mode and you should be presented with an empty browser window. Now it’s up and running you can test it.
Testing locally
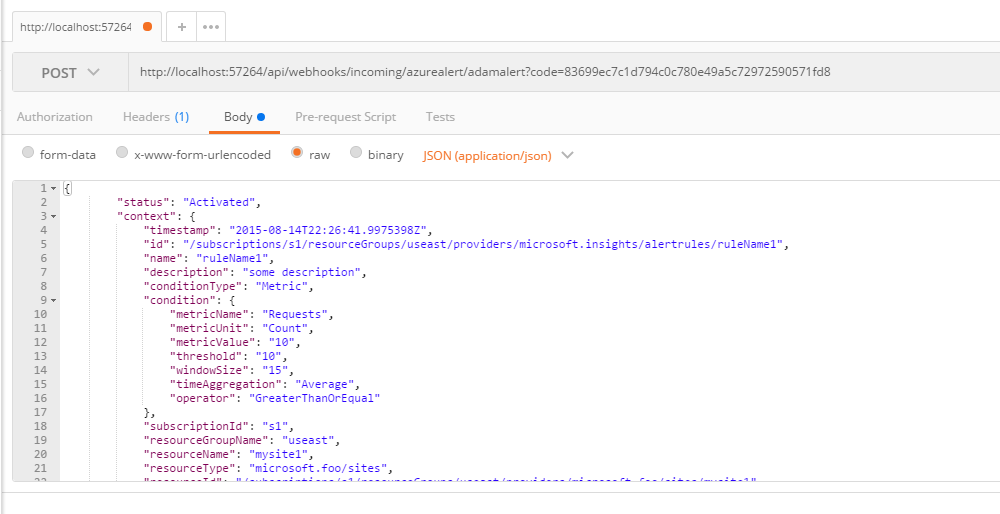
To test it locally I use a rest client called Postman which allows for submitting various http commands to an api endpoint without the need to create a temporary code client.

The body of the request is made from RequestBody property of the expected JSON payload from the Azure alert. More details can be found here.
	{
        "status": "Activated",
        "context": {
            "timestamp": "2015-08-14T22:26:41.9975398Z",
            "id": "/subscriptions/s1/resourceGroups/useast/providers/microsoft.insights/alertrules/ruleName1",
            "name": "ruleName1",
            "description": "some description",
            "conditionType": "Metric",
            "condition": {
                "metricName": "Requests",
                "metricUnit": "Count",
                "metricValue": "10",
                "threshold": "10",
                "windowSize": "15",
                "timeAggregation": "Average",
                "operator": "GreaterThanOrEqual"
            },
            "subscriptionId": "s1",
            "resourceGroupName": "useast",
            "resourceName": "mysite1",
            "resourceType": "microsoft.foo/sites",
            "resourceId": "/subscriptions/s1/resourceGroups/useast/providers/microsoft.foo/sites/mysite1",
            "resourceRegion": "centralus",
            "portalLink": "https://portal.azure.com/#resource/subscriptions/s1/resourceGroups/useast/providers/microsoft.foo/sites/mysite1"
        },
        "properties": {
            "key1": "value1",
            "key2": "value2"
        }
    }
Debugging Locally
You should now be able to add a break point into the Controller action AzureAlert and be able to see what the values are of the model values being passed into the Controller action when submitted through the rest client.

Conclusion
In this blog post I have showed how to get the sample AzureAlertWebHook project running locally, setup the security secrets for the webhook to allow for the code to be executed and debugged locally using a rest client.
Any questions/comments then please contact me on Twitter @WestDiscGolf